STORAGE SYSTEM
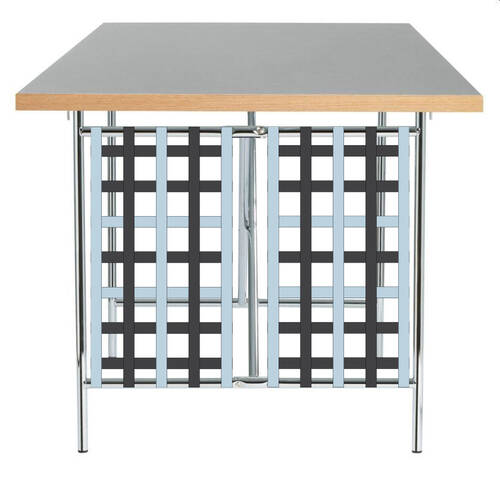
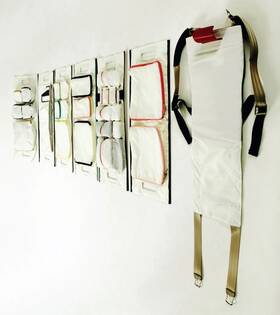
A few years ago, I added a hanging storage for quilting rulers and protractors to my Eiermann frame. It was a very simple construction made from leftover fabric and some hook-and-loop fasteners. I wanted to revisit the idea of having removable storage on the sides of the frame, perhaps using snaps, eyelets or hook-and-loop fasteners. The build should be something simple, so that others are able to replicate it if they want to.
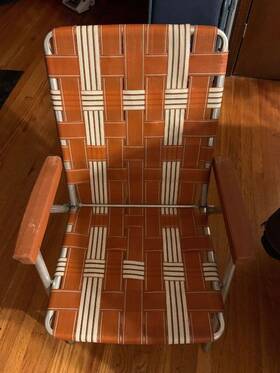
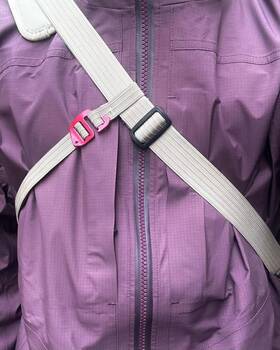
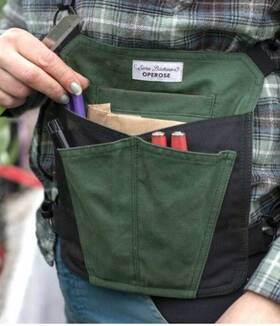
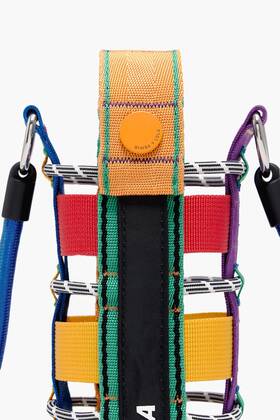
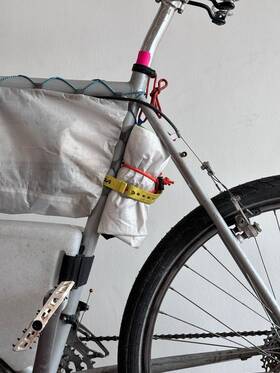
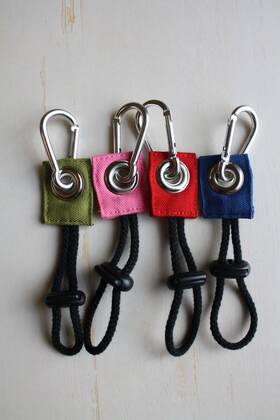
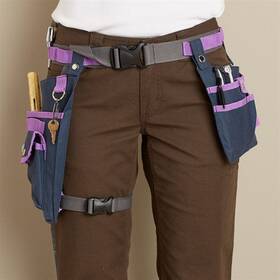
I drew inspiration from various sources, including bike bags, camping supplies, workwear, tool storage, and mountaineering equipment. I found the materials and techniques used very fascinating. While most designs focus on strength and usability, there is still plenty of space for creativity. Colours, materials, patterns, types of stitching and hardware are easy ways to make designs more interesting and less technical/tactical.
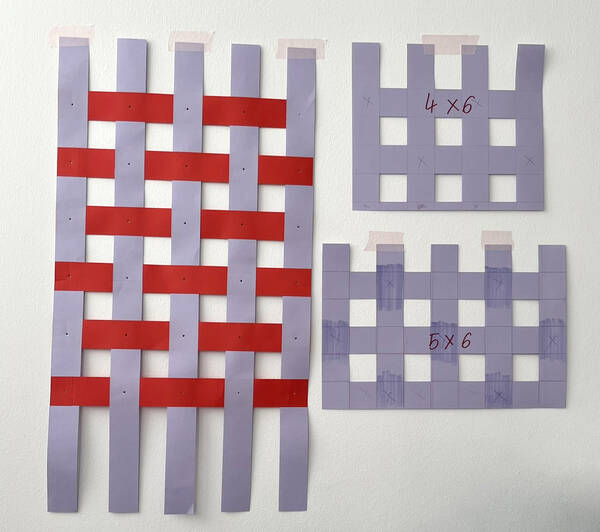
Planning the grid:
The entire construction should be easily accessible from a seated position, which is why I decided to make it half the width of an Eiermann frame. You could even attach two next to eachother if needed.
First prototype:
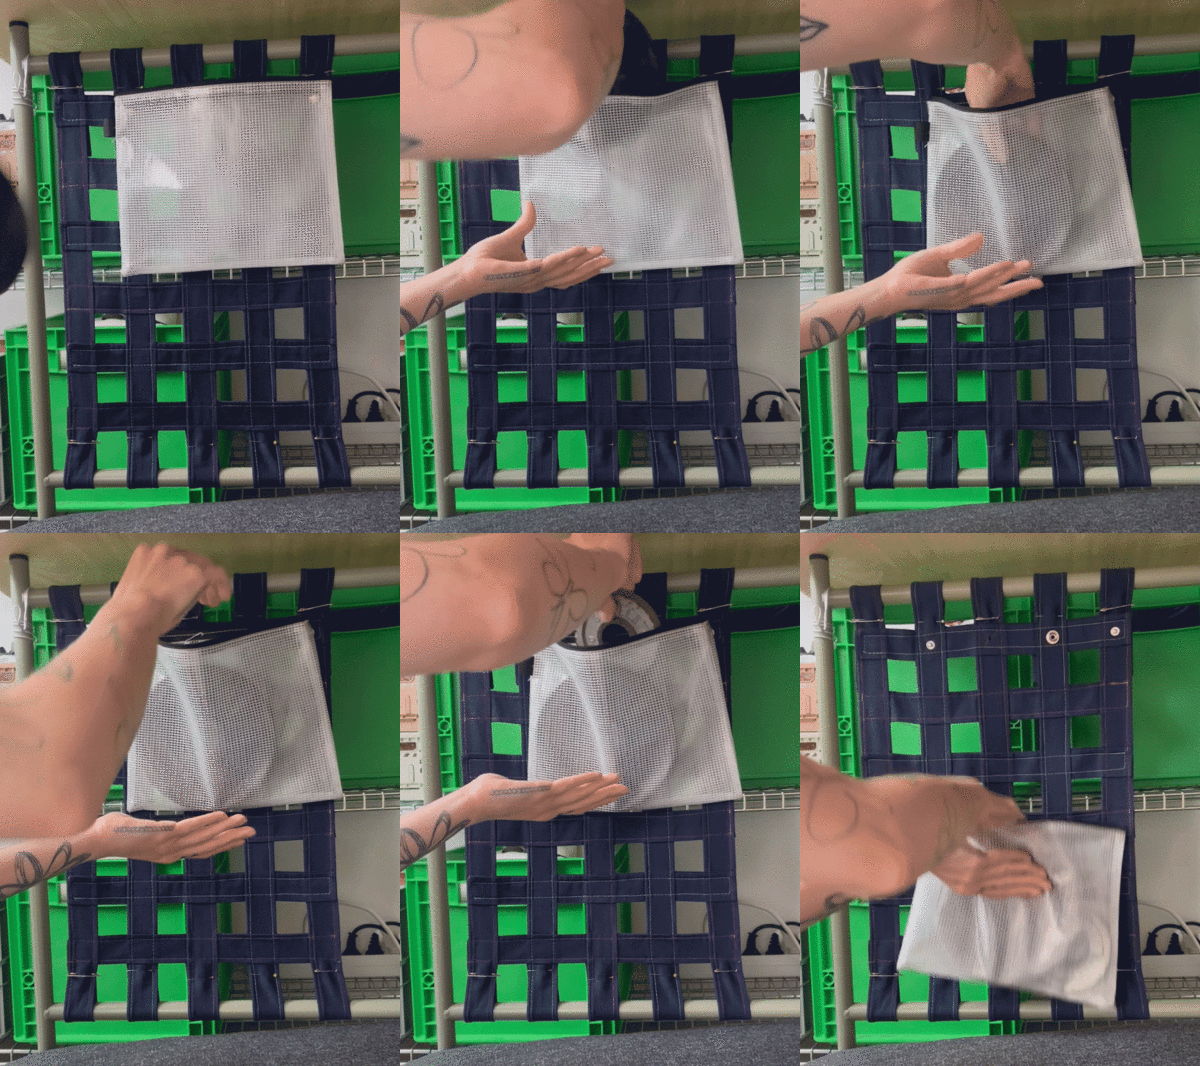
The first version was made entirely out of fabric. Strips measuring 70 x 750 mm were cut from Köper, halved and ironed to a width of 35 mm. These strips were then arranged in a 5×6 grid and sewn down around all edges to create an overlapping design.
Testing the strength:
To test the load capacity of the anchor points, I attached a bag to two points and slowly added weights. The first snap clips I used could hold a maximum of 3 kg (so 1.5 kg per each, the final version can hold over 6 kg).
Second prototype:
Swapped from fabric to seatbelt straps for more stability and changes the snaps since they were not heavy duty enough.
Attachment testing:
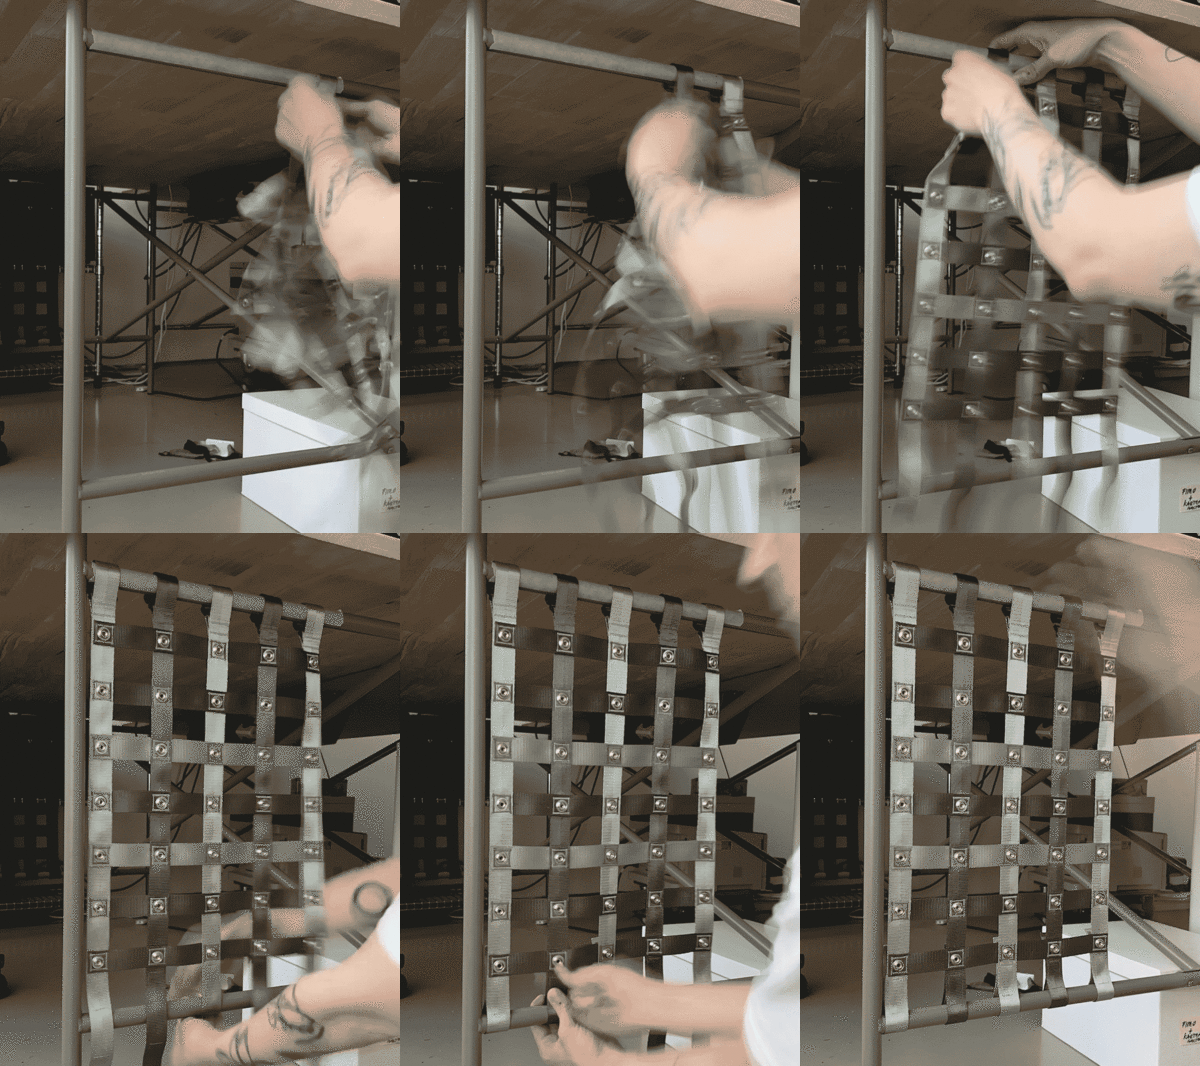
First test of all the closures on a Eiermann Frame.
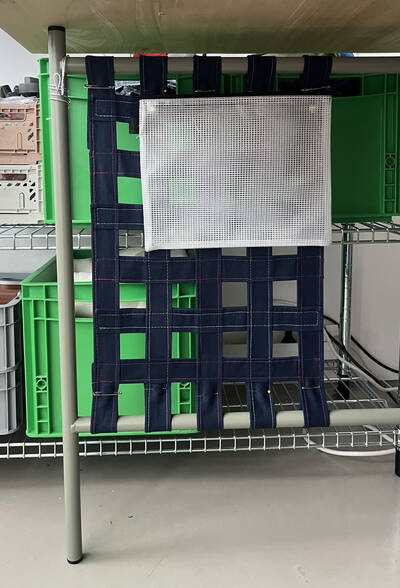
FINAL VERSION
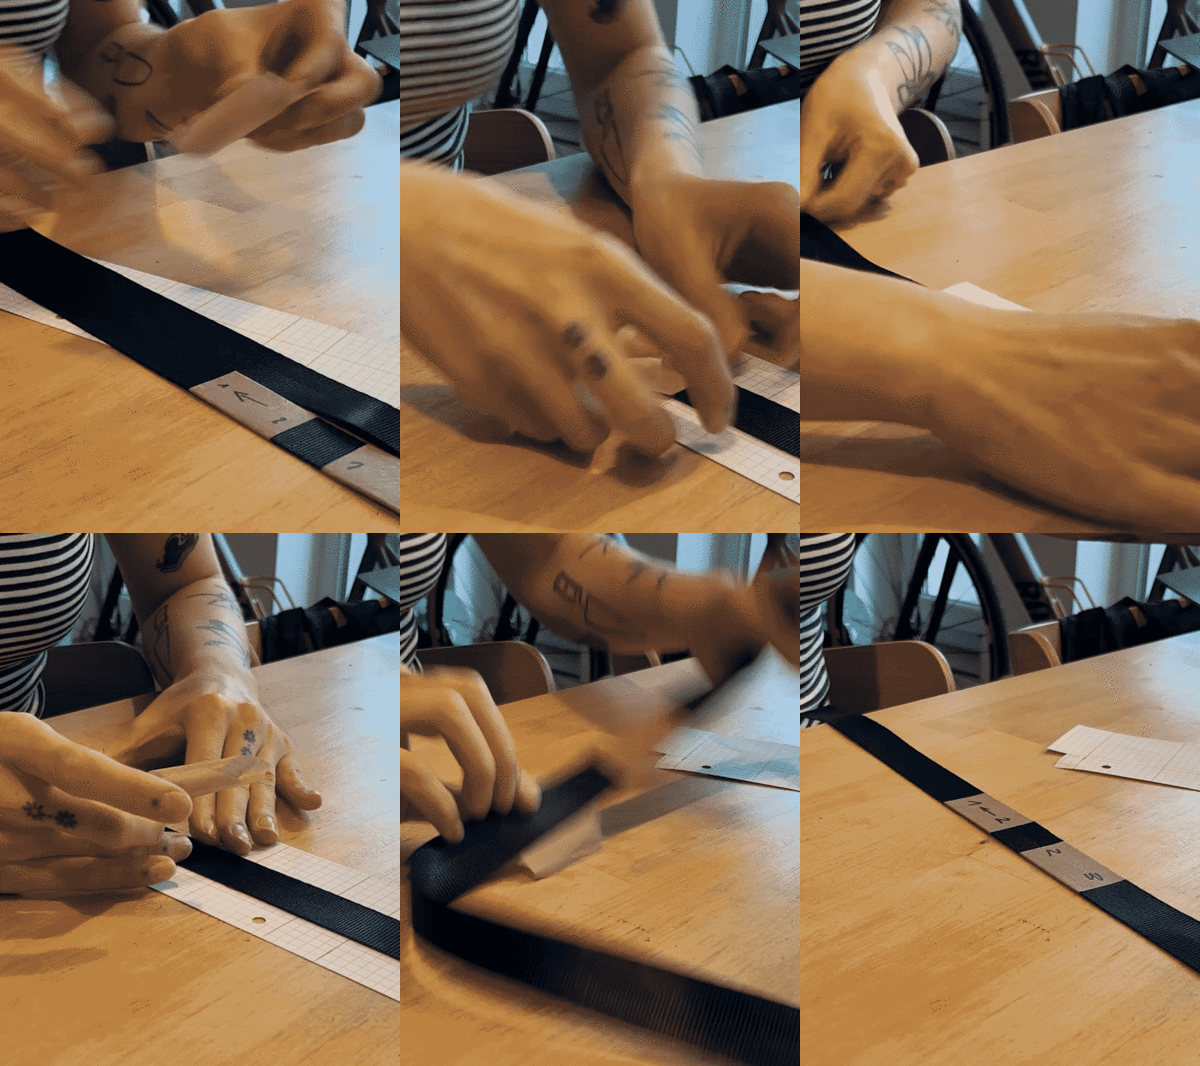
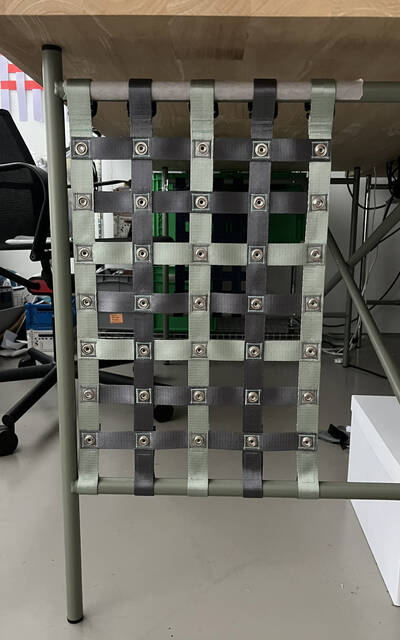
Cut the straps into 5x750mm and 7x305mm pieces, glued the ends with planatol bb so they will not unravel (this glue is also very flexible when dry so ideal to sew over).
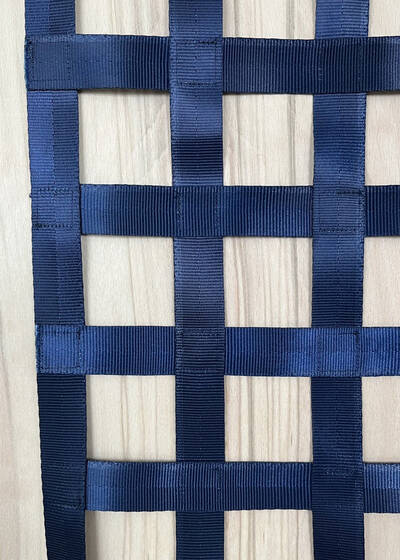
Then I marked the horizontal pieces in 45 mm and the vertical pieces in 35 mm increments. I marked the sections with tape.
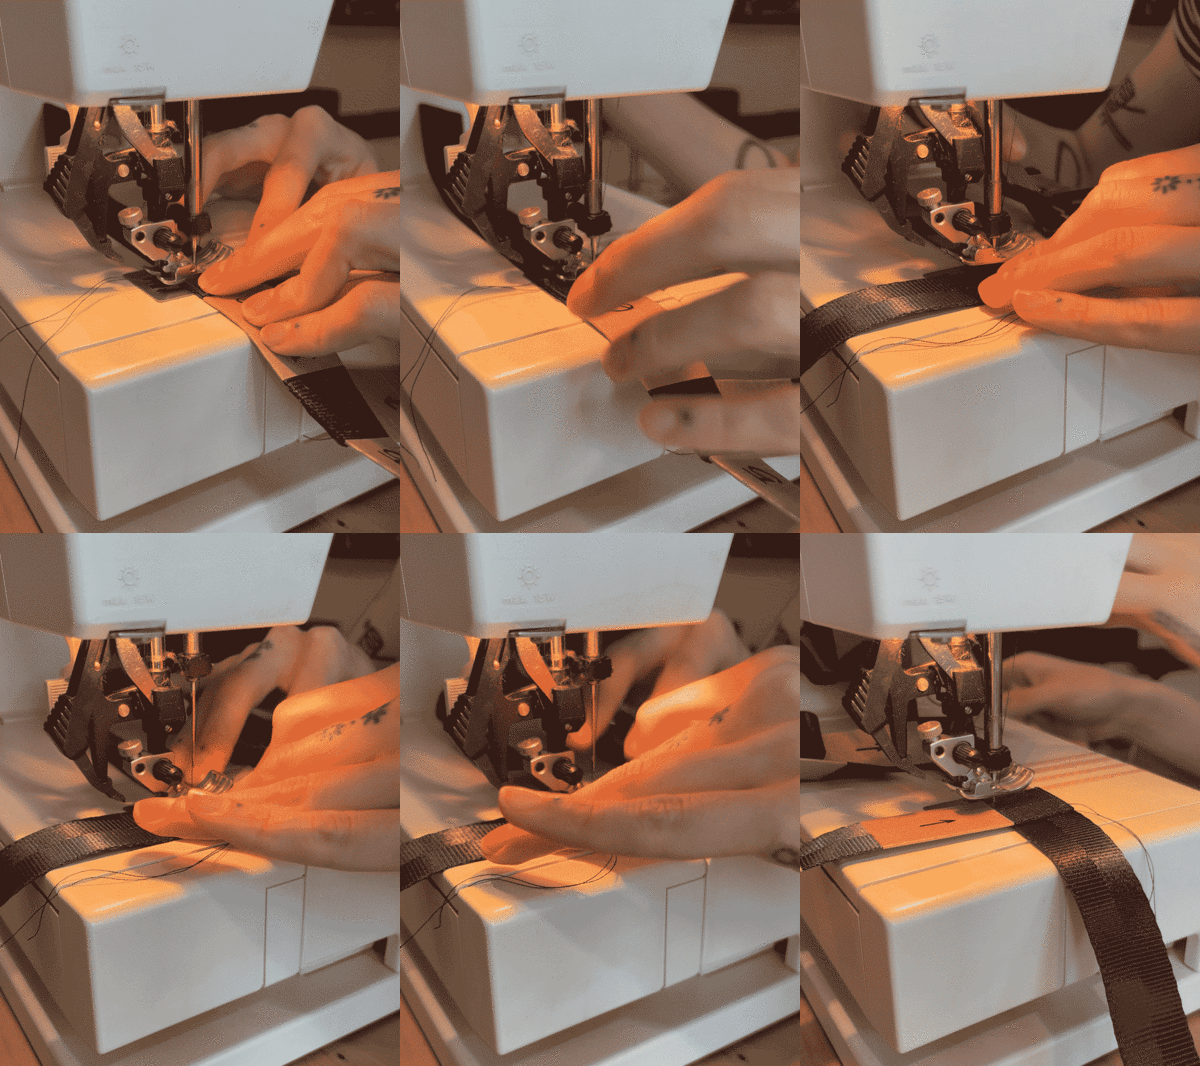
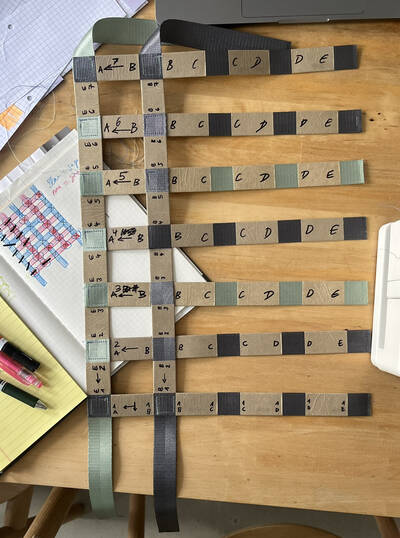
I sewed all the short pieces onto the outermost piece. Then I continued with the rest using the pattern I made beforehand.
All the tape was removed and then all the connections were reinforced with a zigzag stitch using the contrasting colour each time.
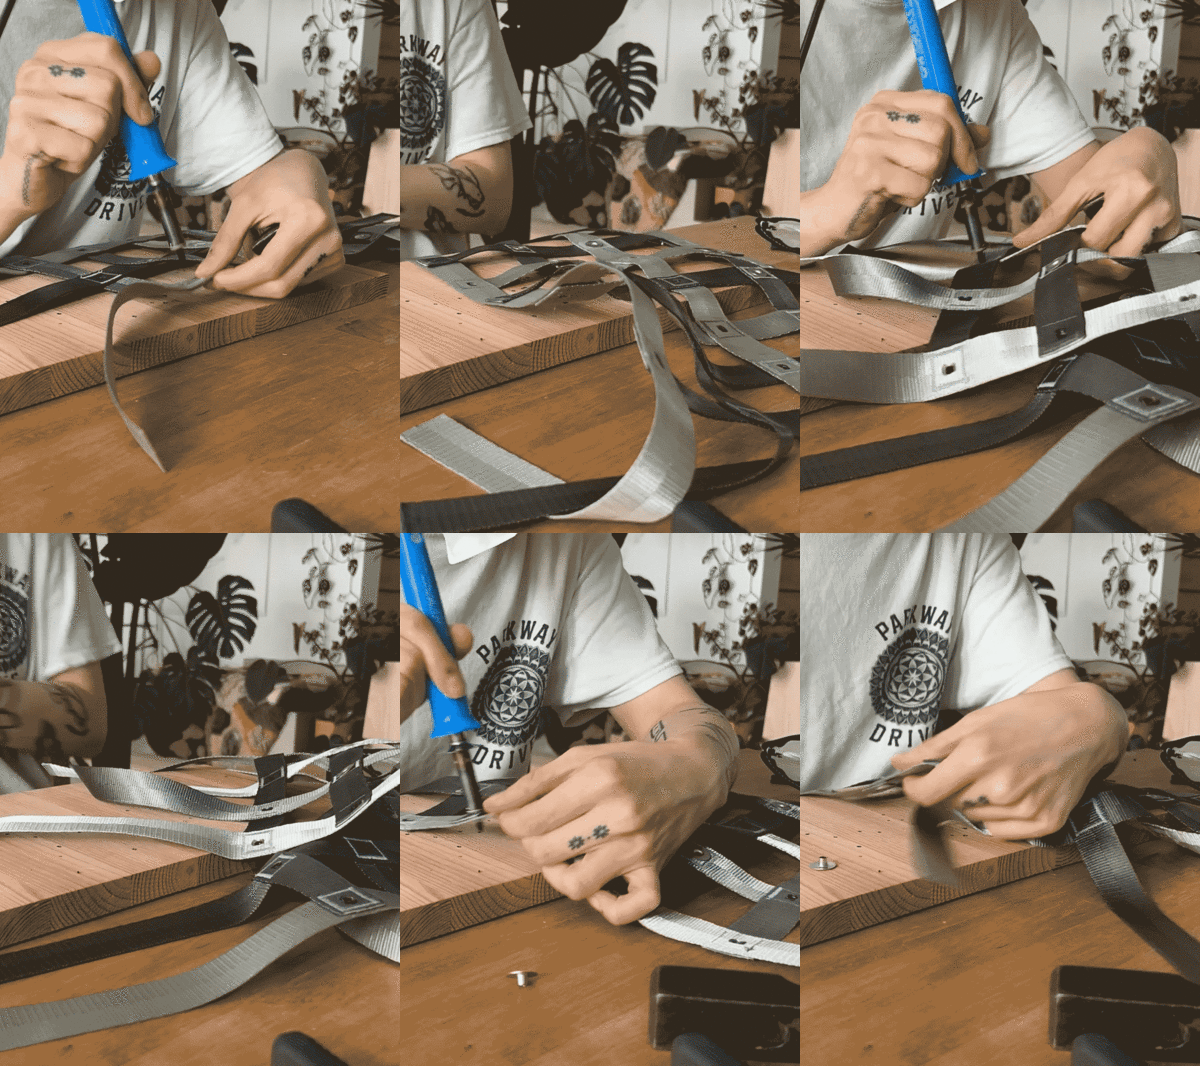
Using a soldering iron I burned 35 holes into each connection point.
Then added the snaps on all rows but the upper and lowest. Adding the top buckles and the hook and loop on the bottom, reinforced the seams and then put in all the remaining snaps.
MATERIALS USED
- 35 Camping and Boating snaps
- 9m of seatbelt strap in 25mm
- 5 aluminium G-buckles
- 50 cm of hooks and loop
- Bookbinding glue or woodglue
- A hammer
- Sewing Machine
- Soldering iron (to make the holes)
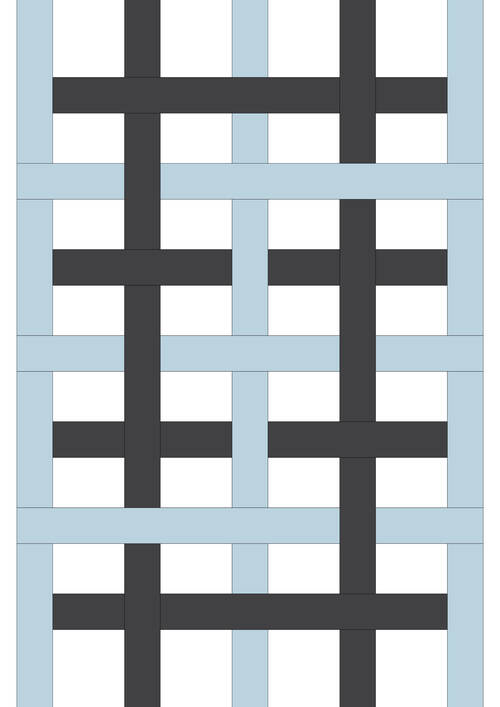
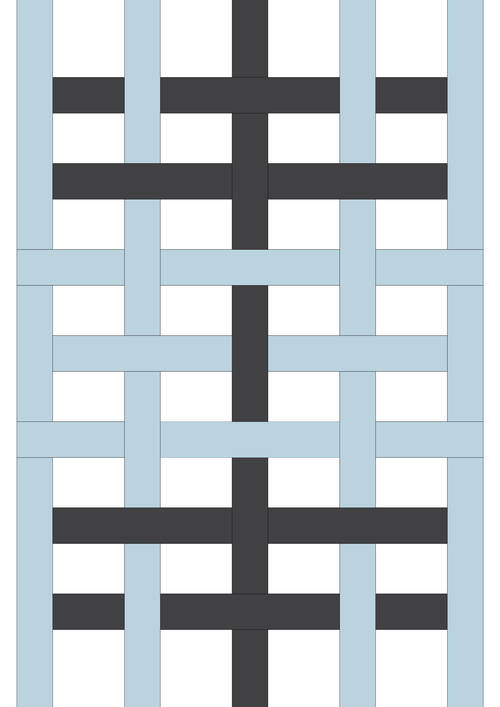
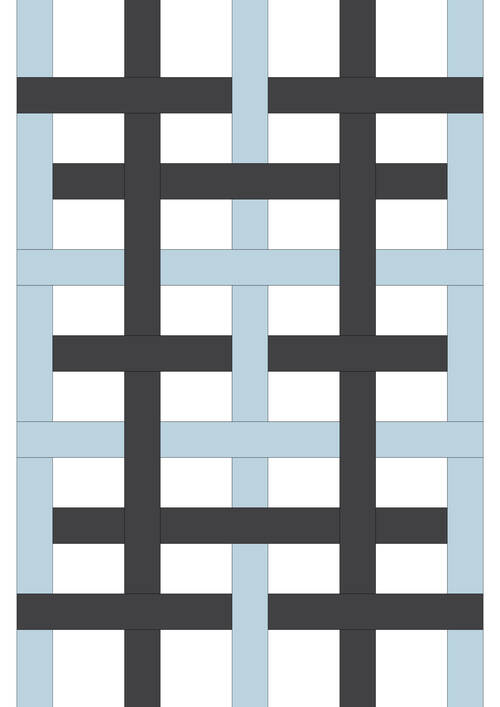
Pattern Ideas:
I tested various configurations of the pattern, but these three were my favourites. They all use roughly the same amount of each colour, except for the one in the middle.
Pockets and other add-ons:
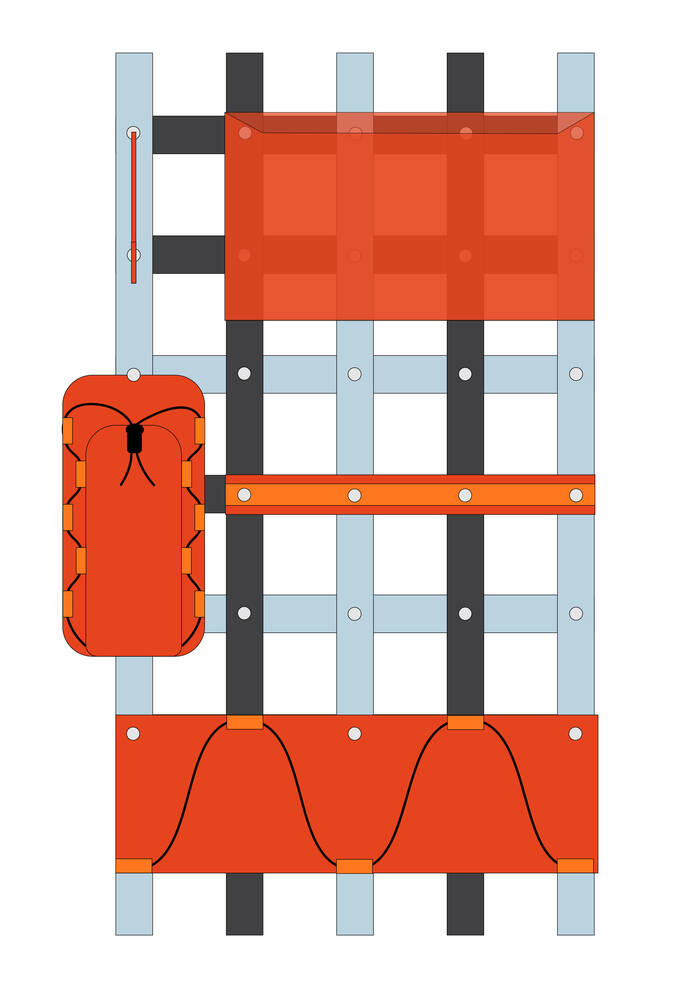
Since I wanted the whole thing to be as modular as possible, I created some pockets and attachments myself. However, you can also use existing pencil cases / hooks / straps by adding snap backs to them.
For this version, I added attachments for the items I used when creating the project, such as straps for holding posters or fabric, a bottle holder, a lighter case, and a tape holder. I also added two cases that I already owned to store the snap backs and manual.
